
-
November 2, 2026
-
6 Views
Odoo Expenses: How to Set Up Employee Reimbursements, Receipts and Corporate Cards
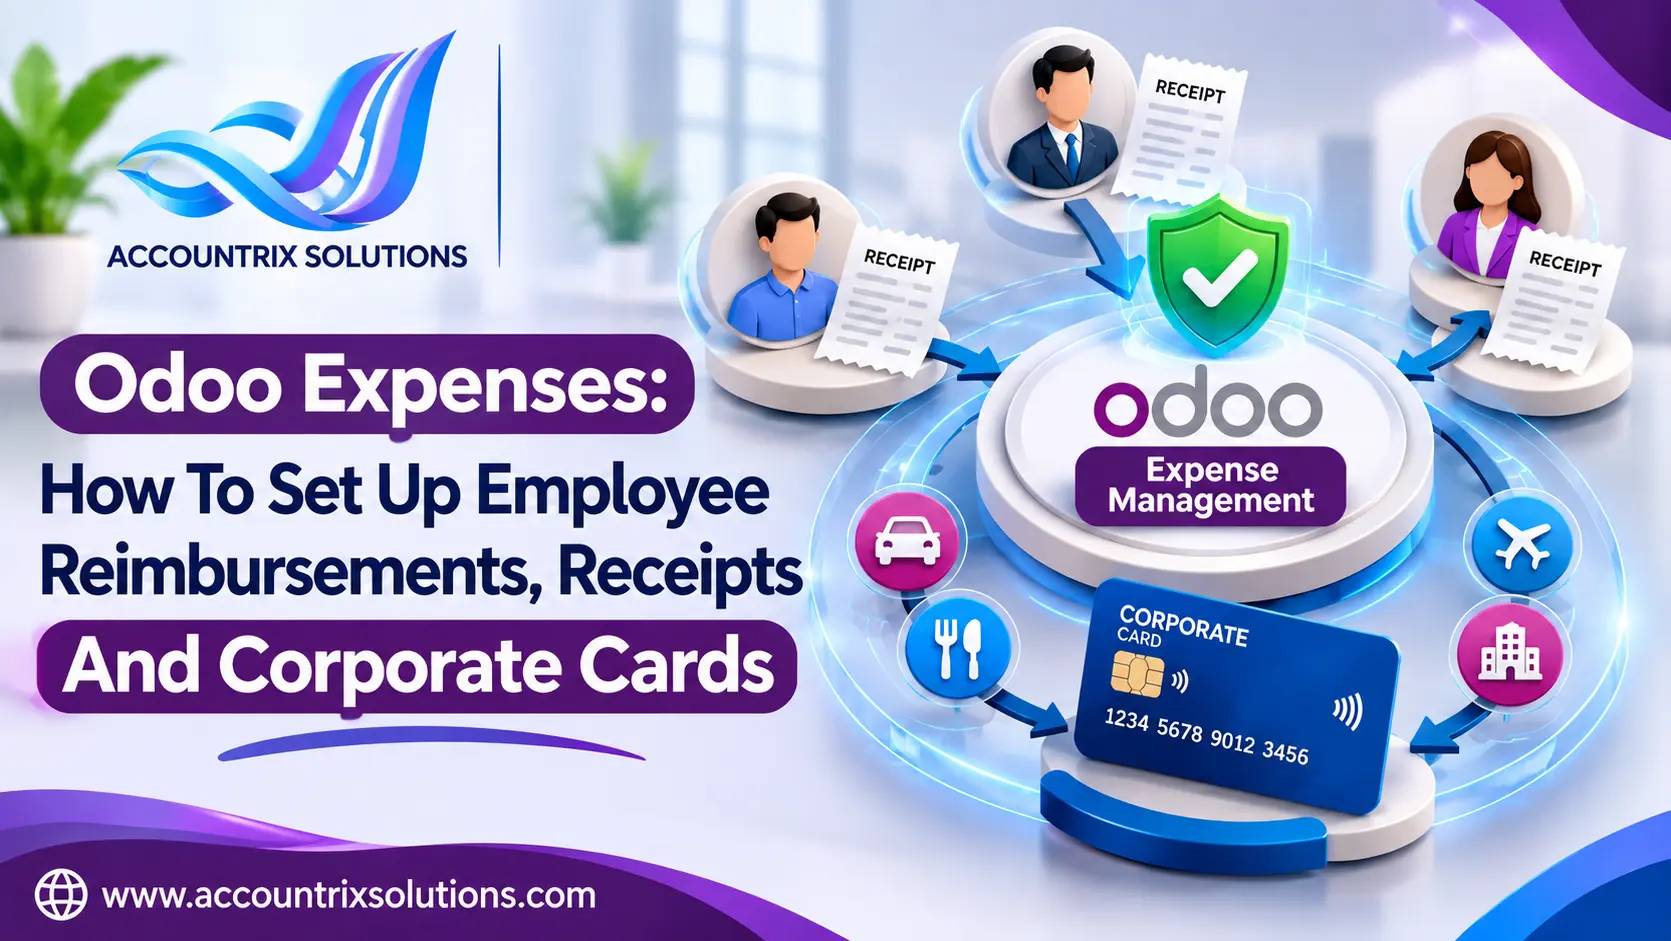
Odoo Expenses lets employees log what they spend, managers approve it, and accountants post it to the books and pay people back. To set it up, you configure expense categories, turn on receipt capture, give the right people the right access, and decide how reimbursements and company card spending flow into accounting. Most small teams can do this in an afternoon.
This guide walks through each step in the order you would do it, and explains how the same expense changes when the employee paid versus when the company card paid. If your expenses end up in messy books, our Odoo bookkeeping services team can set up the accounting side and keep it clean. If you are setting things up yourself, keep reading.
The short version: every expense moves through four stages. The employee logs it, a manager approves it, an accountant posts it, and then the company either reimburses the employee or, for a company card, matches it against the card statement.
- LogEmployee adds the expense and receipt
- ApproveManager approves or refuses
- PostAccountant posts the journal entry
- Pay or matchReimburse the employee, or match the card statement
One note on versions. This guide follows Odoo’s documentation for Odoo 19, and mentions where Odoo 17 and 18 differ. Menu names change between versions, so if a button is not where we say, check your version’s documentation first.
Before you start
What to have ready
- The Expenses, Employees and Accounting apps installed.
- Each employee set up in the Employees app, with a work email and, for reimbursements by bank transfer, a bank account.
- Managers set on the employee records, so approvals reach the right person.
- A written expense policy: what is allowed, what needs a receipt, and who approves what. Odoo records the process, but your policy decides it.
Step 1
Set up expense categories
Go to Expenses › Configuration › Expense Categories. Odoo ships with default categories for common spending such as communication, meals, gifts, miles driven and travel, plus a general category with the code EXP_GEN for everything else. Odoo manages categories like products, so each one behaves like a product record.
Variable costLeave Cost at 0.00 and the employee enters the real amount. Use this for meals and travel.
Fixed costEnter the amount in Cost when a price never changes, such as monthly parking.
Per-unit costFor mileage, set Cost to your per-mile rate. Many US companies use the IRS standard rate, so check the current year’s figure.
Pick an expense account for each category if you use Odoo Accounting. Odoo’s own documentation says to check with your accounting team first, because the account you choose changes your reports. That is good advice. A category pointing to the wrong account is the quickest way to misstate a profit and loss report.
Keep the list short. Fifteen clear categories beat sixty overlapping ones. Employees pick faster, and your reports stay readable. Add a category only when someone asks to track that spending on its own.
Step 2
Turn on receipt capture
Odoo gives employees four ways to create an expense. Employees can choose whichever fits the moment.
| Method | How it works | Setup needed |
|---|---|---|
| Manual entry | Fill in category, total, date and notes, then attach the receipt | None |
| Upload or Scan | Upload a receipt from the dashboard, and Odoo reads the details | Expense Digitization (OCR) turned on |
| Drag and drop | Drop a receipt onto the dashboard | Digitization turned on |
| Send the receipt to your expense email alias | Incoming Emails alias configured |
For scanning, go to Expenses › Configuration › Settings and tick Expense Digitization (OCR). You then choose between not digitizing, digitizing on request, or digitizing automatically. Digitization runs on Odoo’s in-app purchase credits, so scanning costs credits and you should watch your balance.
For email, tick Incoming Emails on the same page. The default alias is expense@yourdomain.com, and you can change it. An employee emails the receipt with the category’s reference code and the amount in the subject line. Odoo only accepts mail from authenticated employee addresses, which means each employee’s work email must be filled in on their employee card.
Make receipts non-negotiable. An expense without a receipt is a conversation waiting to happen. Odoo lets you attach several receipts to one expense, and they appear in the chatter, so the evidence stays with the record.
Step 3
Decide who can approve and post
Odoo’s documentation says most users cannot process expenses. Only users with the right access rights can. Set these in the Settings app under Users, and match them to the jobs people actually do.
| Person | Access needed | What they can do |
|---|---|---|
| Employee | Expenses: own records | Log and submit their own expenses |
| Team lead | Expenses: Team Approver | Approve or refuse expenses from their team |
| Finance lead | Expenses: Manager, plus Accounting: Accountant or Adviser | Post expenses to the accounting journal |
Managers work from the Expenses to Process dashboard, under My Expenses. A My Team filter shows only their own people’s expenses. From each expense they can approve, refuse, reset, split or attach a receipt. Refusing opens a note so the employee knows why.
Out of the box, approval is one step. If your policy needs two levels, for example a manager for everything and the finance lead for anything above a set amount, that is not part of the standard flow. Third-party modules exist, and a tailored rule is also possible. Our Odoo customization services team builds approval rules like this when a module does not fit.
Step 4
Post expenses to accounting
Only approved expenses can be posted. Go to Expenses › My Expenses › Expenses to Process, filter to Approved, and click Post Journal Entries. A pop-up asks for the journal and the accounting date. Odoo fills in the Purchases journal by default, so check that it is the journal you want.
- Post one at a time to see the entry clearly, or select several and post in bulk.
- Check the expense account on each line before you post. This is the last chance to catch a wrong category.
- Remember who holds the posting rights. Without Accounting rights, the button does not appear.
Once posted, an expense paid by the employee becomes an amount the company owes that person. Odoo’s documentation compares the employee to a vendor with a payable account, so the amount shows up in the aged payable balance until you pay it. If your books run on Odoo, our guide on Odoo accounting for US businesses explains which accounting gaps to close around this, such as taxes and reporting.
Step 5
Reimburse employees
Only posted expenses can be reimbursed. Odoo gives you two routes, set under Expenses › Configuration › Settings.
Through payroll
Tick Reimburse in Payslip. On an approved or posted expense, click Report in Next Payslip. The amount joins the employee’s next payslip, and the status changes to Paid once that payslip is processed. This needs Odoo Payroll.
Directly
Open the posted expense, click its Journal Entry smart button, then click Pay. Choose the journal (Bank or Cash), the payment method (Manual Payment or Checks), the employee’s bank account and the date. Click Create Payment. A green Paid banner confirms it.
Odoo describes both routes in its documentation on reimbursing employees. In Odoo 17 and 18, you register the payment from an expense report, using a Register Payment button, instead. Both versions end the same way: a payment entry that you later match to the bank statement.
Pay on a schedule your policy states, such as weekly or with each payroll run. Reimbursements that arrive at random make employees chase finance, and finance chase receipts.
Step 6
Handle company cards
Odoo does not issue cards. In its documentation, a card purchase is simply an expense where Paid By is set to Company, instead of Employee (to reimburse). Nothing is owed to the employee, so nothing needs reimbursing. The work is in matching the card’s own statement afterwards.
Employee paid
- Paid By: Employee (to reimburse)
- Posts as an amount owed to the employee
- Ends with a payment to the employee
Company card paid
- Paid By: Company
- Nothing owed to the employee
- Ends with matching the card statement
The Paid By field may not appear for every category, so test each category once before you roll it out.
Set up the card in accounting
- Create a journal of the Credit card type in Accounting, with a credit card account behind it.
- Connect the bank or card through bank synchronization if your institution is supported. If not, import the statements.
- When you set the first sync date, choose the date you start recording in Odoo, so you do not pull in history that your opening balances already cover.
- Match each card statement line to the posted expense.
Do not enter the same spend twice. If an employee logs a card purchase as an expense and someone also categorizes the same statement line directly, the cost is counted two times. Match the statement line to the expense’s entry instead. Odoo notes that payments registered in Odoo sit in outstanding accounts until you reconcile them, so a month-end review of those accounts will show what is still unmatched.
Then keep the policy simple. Ask card holders to submit expenses within a fixed number of days, make the receipt mandatory, and review unmatched card lines at month end. If your US accounting follows an accountable plan, where reimbursements are not treated as wages when employees substantiate their spending, confirm the details with your CPA.
A month-end check for expenses
Expenses go wrong quietly. A short check each month stops small gaps from growing into a messy year-end.
- Every expense dated before the cut-off is approved or refused. Nothing sits in Submitted.
- Approved expenses are posted, and none are left waiting in the Approved status.
- The amount owed to employees in the payable balance matches what you actually owe.
- Card statement lines are matched, and the outstanding payment accounts hold only items you can explain.
- A sample of posted expenses has receipts attached, with the right category and account.
If nobody on your team has the time to run this close, our Odoo accounting and bookkeeping support can take over the monthly review, including the card matching and the payable balances.
Re-invoicing expenses to customers
Some spending belongs to a client, such as travel for a site visit. When the category allows re-invoicing, the expense form lets you pick a sales order under Customer to Reinvoice. After approval, the sales order is updated and you can bill the cost to the customer. Decide the markup, if any, before you start, because it is a pricing choice and not a setting.
Mistakes that cost the most time
- Categories with no expense account. Posting fails or lands in a catch-all account.
- Everyone has approval rights. Limit them to managers and finance.
- Digitization switched on without credits. Scans stop at the worst moment.
- Work emails missing on employee cards. Email expenses are quietly rejected.
- Card spend entered twice. Once as an expense, once as a statement line.
- No cut-off day. Receipts for last quarter show up in this one.
Odoo Expenses FAQ
Is Odoo Expenses included in Odoo Community?
Odoo’s own product page lists Expenses as one of its finance apps. Availability of features such as digitization can depend on your plan and edition, so check what your subscription includes.
Can employees submit expenses from their phone?
Yes. Odoo says employees can email an expense or upload a receipt with the mobile app.
How do I record an expense paid with a company credit card in Odoo?
Create the expense and set Paid By to Company. After it is approved and posted, match it against the card statement in Accounting.
Who can approve expenses in Odoo?
Users with at least Team Approver rights for Expenses. Posting needs Expenses: Manager and Accounting: Accountant or Adviser.
How are employees paid back in Odoo?
Either through their next payslip, or by a direct payment by cash, check or bank transfer from the posted expense’s journal entry.
Why does my expense email not create a record?
The most likely cause is that the sender’s address does not match the Work Email on their employee card. Odoo accepts only authenticated employee emails.
Final thoughts
A good Odoo Expenses setup is simple: short category list, clear access rights, a receipt for every claim, and one routine for paying people back and matching cards. Get those right, and expense reports stop being a monthly argument.
Want your expense flow set up and reviewed? Tell us how your team spends today, and we will tell you what to configure first.

Related Articles
Odoo Year-End Closing: Fiscal Year, Lock Dates and Opening Entries Explained
-
November 21, 2026
-
5 Views
FBR vs PRA vs SRB: Which E-Invoicing System Does Your Business Actually Need?
-
November 20, 2026
-
8 Views

FBR Digital Invoice Error Codes Explained: What Each API Error Means and How to Fix It
-
November 19, 2026
-
15 Views
Leave a comment